While retro-inspired swirl nail art looks effortless on social media, executing the style at home can quickly lead to a messy, chaotic blur. A single unsteady stroke or an excess of polish can transform elegant, flowing waves into a muddy puddle.
Fortunately, you don’t need professional training to master this aesthetic. Achieving crisp, defined swirl nails simply requires a strategic process: a well-prepared base layer, thin and controlled brushwork, and plenty of negative space to let the details breathe. Once you understand this approach, your nail art will look incredibly sharp, intentional, and clean.
Photo Gallery Of Swirl Nails Ideas
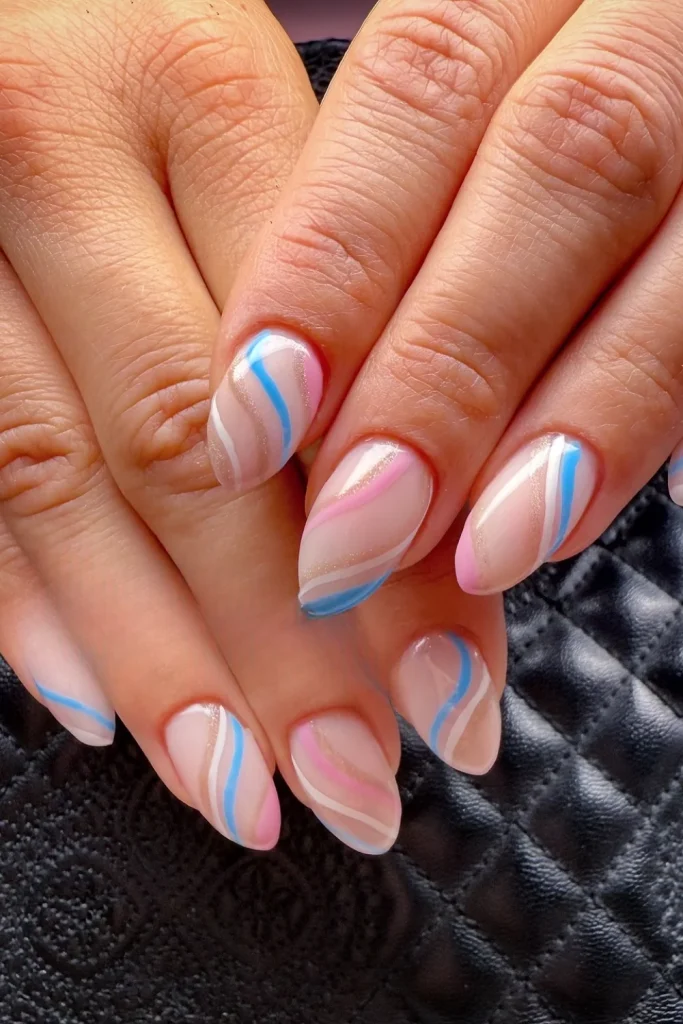
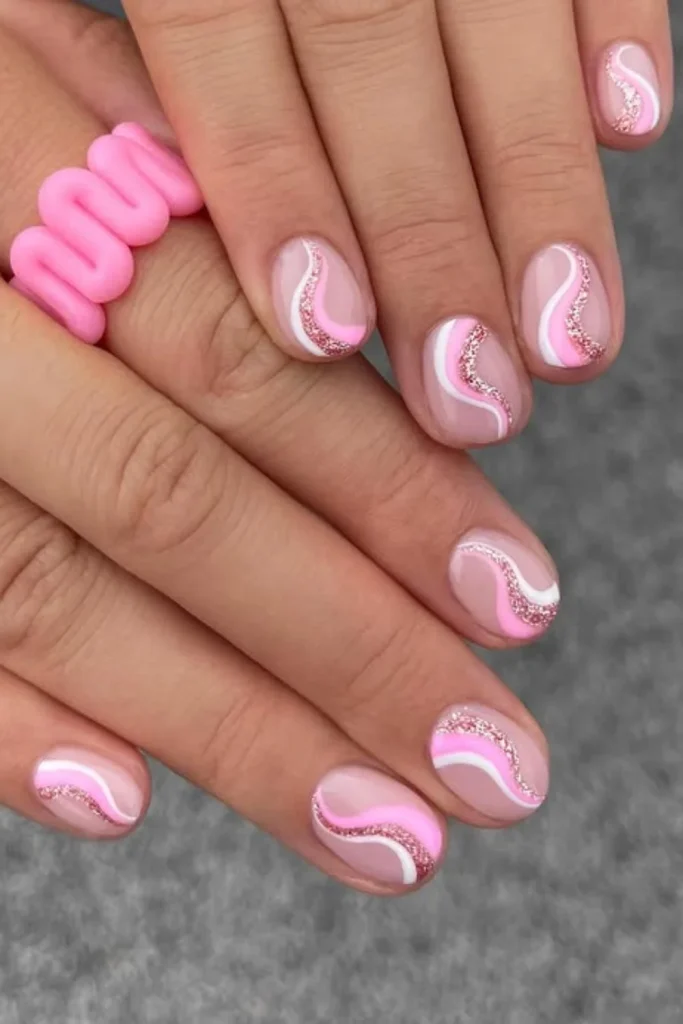
1. Soft Pink Swirls
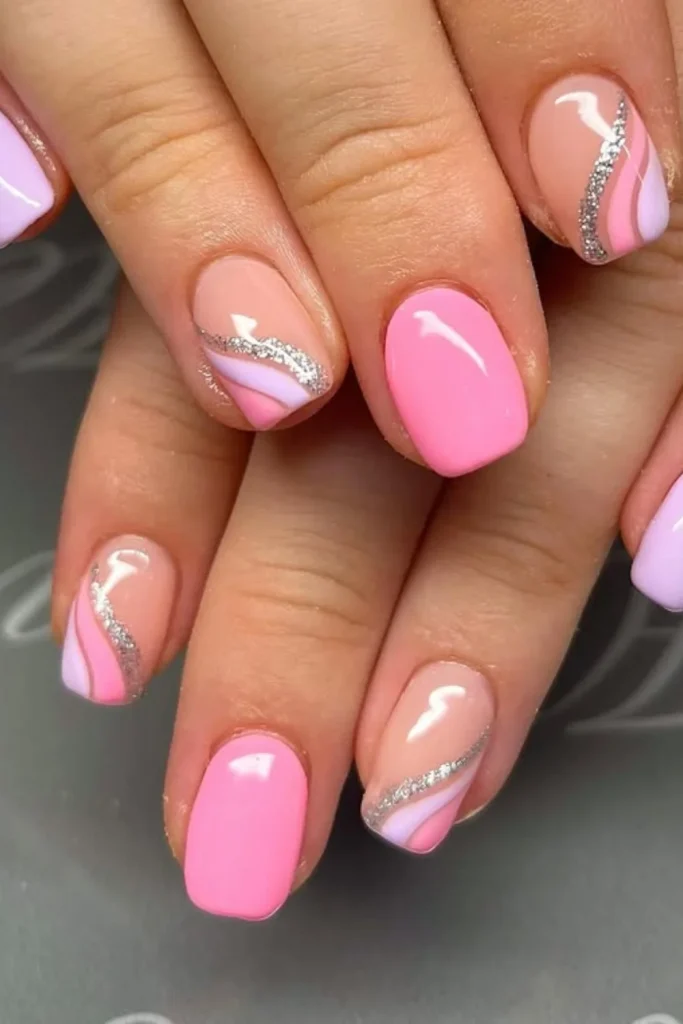
Soft pink waves offer an incredibly delicate aesthetic that is ideal if you prefer understated, feminine patterns. By layering light pink ribbons over a translucent blush or neutral base, you create a soft, clean design that feels elevated without being overwhelming.
To keep the lines looking neat, utilize a fine-tip detailing brush and apply minimal pressure as you glide it across the nail. Let each curve naturally follow your nail’s physical contour for the most organic flow, ensuring you leave enough distance between lines.
2. Minimal Swirls
The beauty of minimal design lies in its simplicity. Opting for a sheer, skin-toned base paired with paper-thin white sweeps creates a highly professional, modern look that is easy to execute even for beginners who struggle with steady hand coordination.
To maintain this clean, uncluttered feeling, limit yourself to just one or two elegant swoops per finger. Keep any extra embellishments microscopic to ensure the focal point remains entirely on the clean paths of your swirls.
3. Soft Pastel Swirls
Soft pastel tones deliver a breezy, serene energy that works beautifully during transition seasons like spring and summer. Painting these light-hearted curves in an upward-pointing trajectory is a brilliant optical trick to make shorter nail beds appear elongated and slender.
Choose two or three coordinating pastel hues, such as lavender, mint, or buttercup yellow, and avoid crossing the paths too frequently. This keeps the overall design feeling light, breezy, and neatly organized.
4. Neutral Brown Swirls
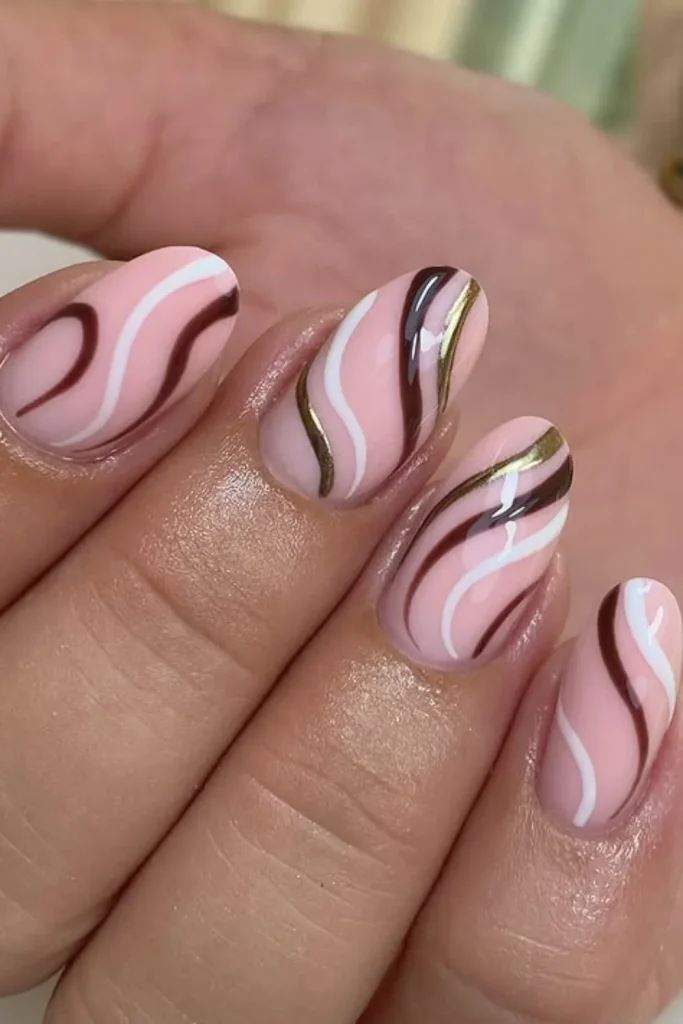
Rich chocolate and latte tones feel wonderfully sophisticated when paired with a creamy, milky background. This neutral palette offers a mature and cozy take on the trendy swirl look, making it incredibly versatile for both office wear and formal events.
You can create beautiful depth by layering a light taupe line right next to a deep espresso curve. Keep the design airy with plenty of open space so the darker tones don’t make the manicure feel heavy or cluttered.
5. Bright Neon Swirls
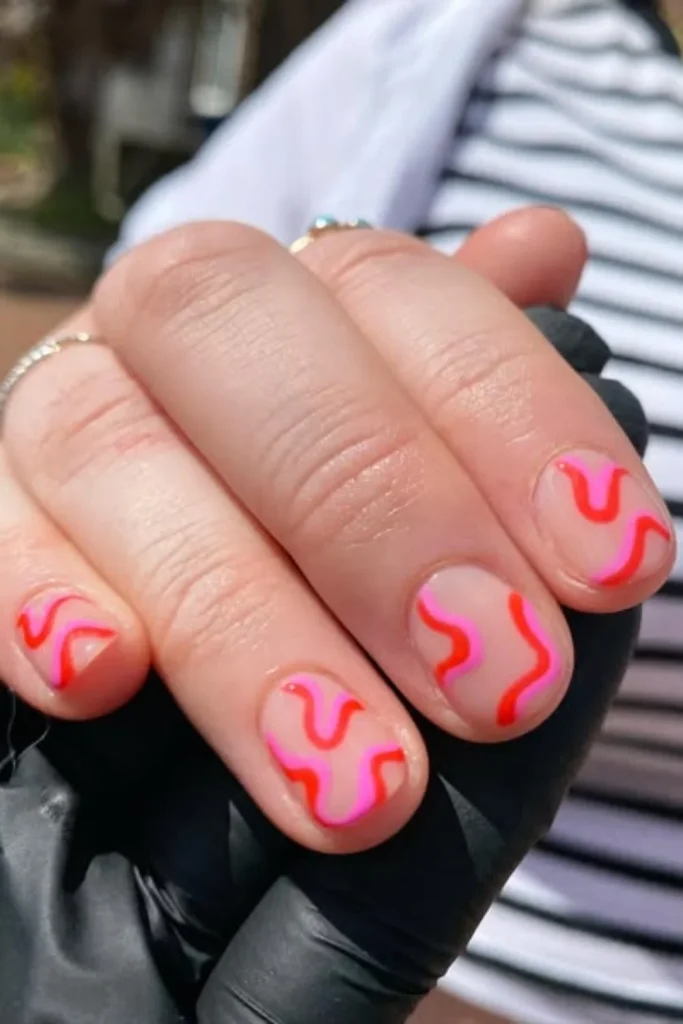
When warm weather arrives, neon swirls offer a high-energy pop that looks amazing against sun-kissed skin. Because neon pigment is naturally very loud, painting the patterns in thin, deliberate lines over a quiet nude background is the best way to prevent the look from becoming visually chaotic.
Always allow one vibrant stroke to set completely before laying down an adjacent color. This small pause ensures the bright pigments stay perfectly separate instead of bleeding into a messy pool.
6. Colorful French Swirls
Give your classic French manicure a whimsical upgrade by replacing the traditional rigid white smile line with organic, colorful curves. Concentrating the motion strictly at the tips of the nails keeps the design playful yet structured.
Use a high-shine base coat to keep the natural nail bed looking glassy and clean. Stick to a cohesive trio of colors to tie the tips together beautifully rather than using too many contrasting shades at once.
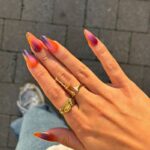
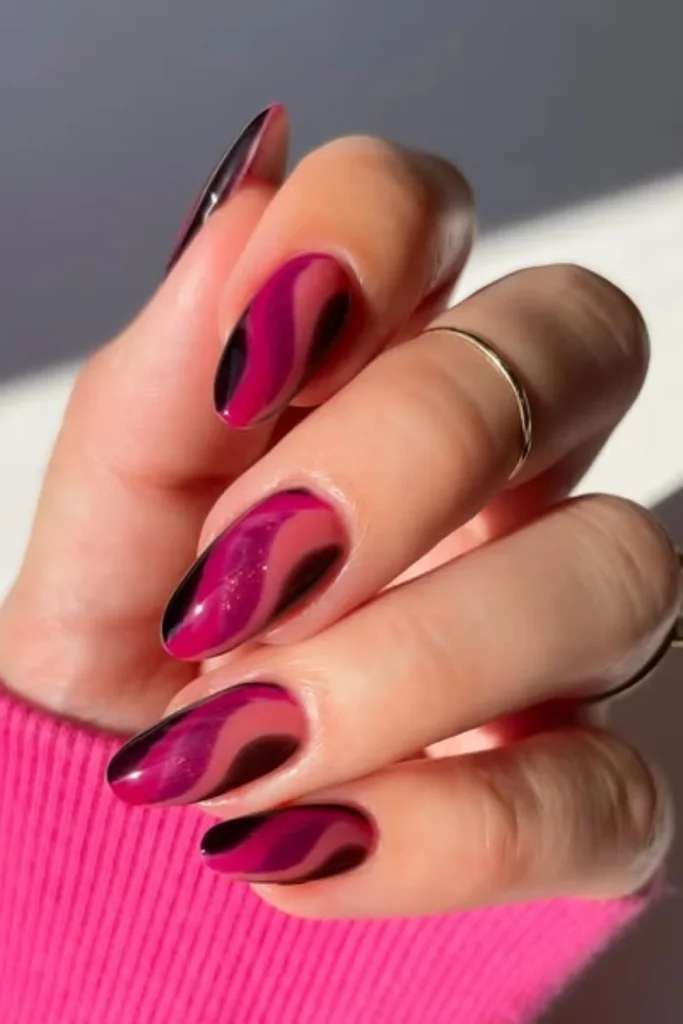
7. Bold Pink Swirls
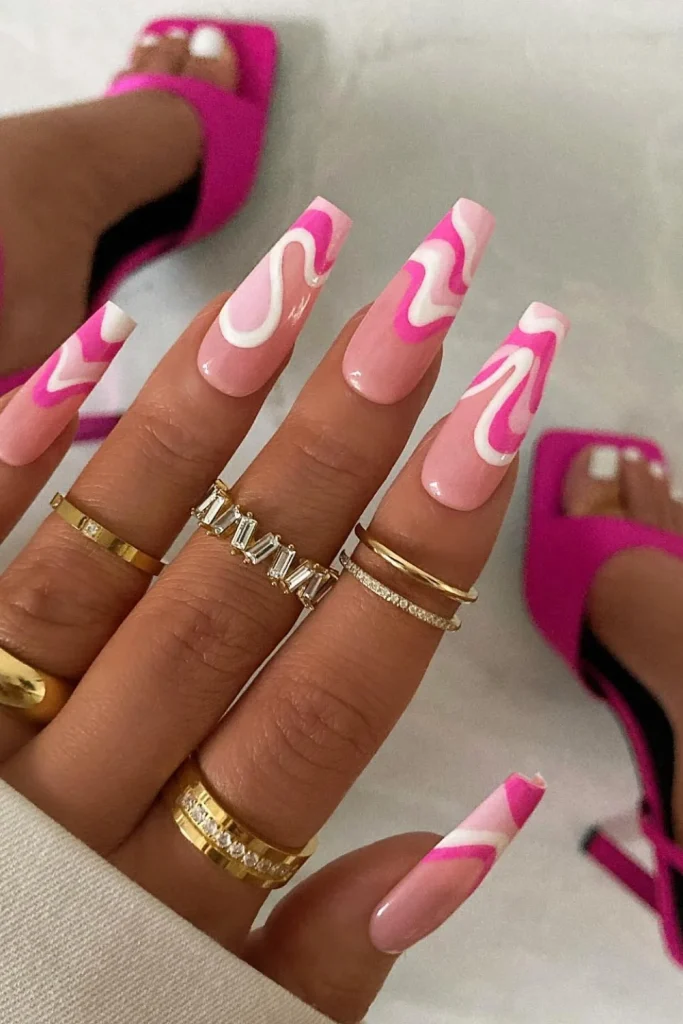
Hot magenta and bright bubblegum pink swirls exude confidence and playful charm. This energetic look works exceptionally well on medium to long extensions, giving the vibrant curves plenty of runway to stretch, loop, and display their vivid pigments.
For a seamless finish, load your brush with just enough paint to complete a full curve from base to tip in a single fluid gesture. Stopping and starting mid-line is often what causes unwanted bumps and uneven thickness.
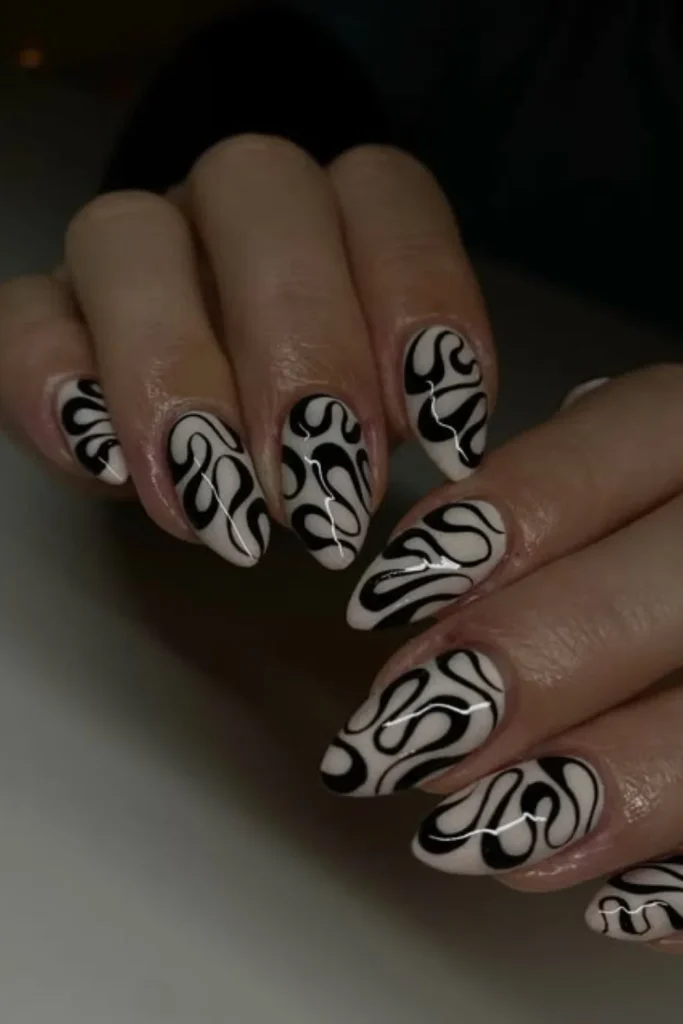
8. Black Micro-Swirls
Ultra-fine black lines over a clean, bare nail look incredibly modern, sharp, and slightly edgy. This minimalist approach relies on sharp contrast rather than color to make an impact, making it look highly artistic.
Instead of stressing over perfectly matching patterns on every finger, let each nail feature its own unique, abstract wave structure. Loose, flame-like swoops often feel much more organic than forced, rigid symmetry.
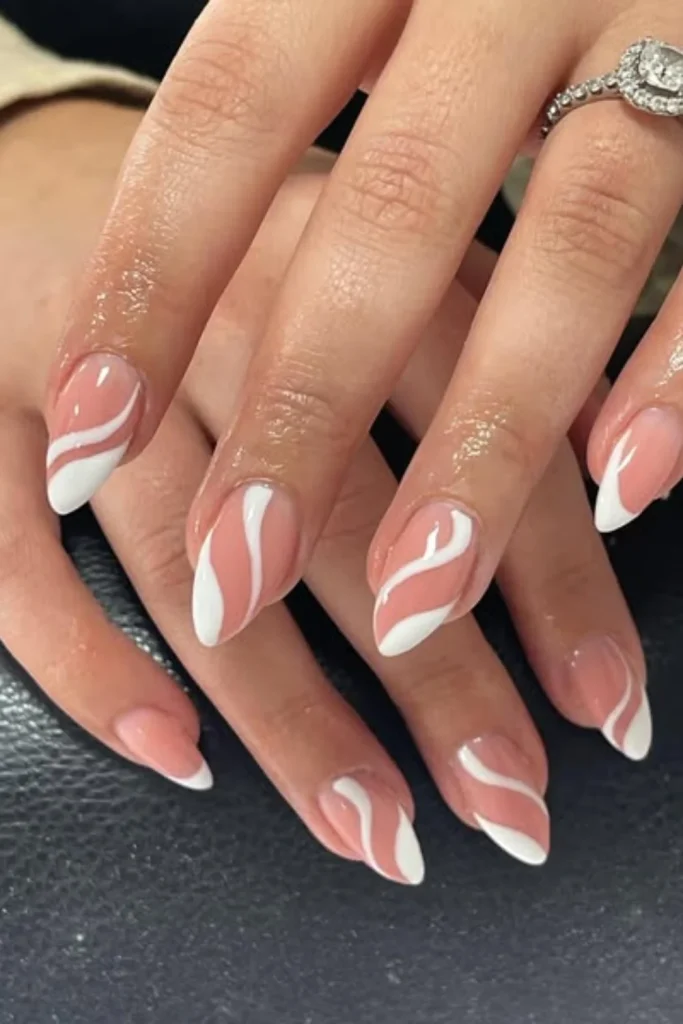
9. Soft Pink Swirls
This alternative soft pink design emphasizes cozy, wearable elegance for shorter natural nails. It provides a quick way to add detail to your weekly manicure without committing to a loud, distracting pattern that clashes with your casual wardrobe.
Select a flattering, semi-sheer pink that complements your natural skin undertone. Keep the lines extremely delicate and spaced out to preserve the clean, airy space on the nail surface.
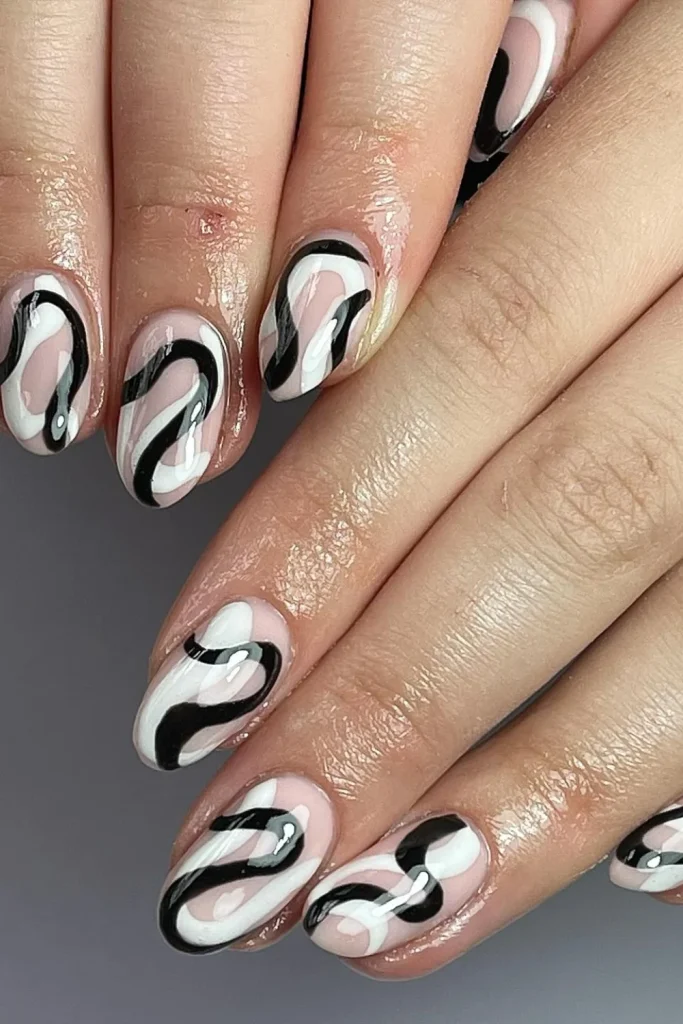
10. High-Contrast Swirls
High-contrast designs, particularly the timeless pairing of black and white, make a striking graphic statement. Because these colors are diametric opposites, the precise shape of each wave is highly visible even from a distance.
To ensure the composition remains balanced, follow a single diagonal direction across the nails. Choosing almond or oval nail shapes helps emphasize the natural fluid motion of these dramatic lines.
11. Deep Wine Swirls
When autumn rolls around, swapping out bright colors for deep bordeaux or burgundy curves feels incredibly chic. Dark, moody hues look highly sophisticated when applied in narrow, sweeping bands over a clean, flesh-toned base.
Utilizing two similar shades of dark red—one deep wine and one slightly brighter cherry—adds rich dimension to the artwork. Keep the strokes delicate to ensure the dark pigments look expensive and polished.
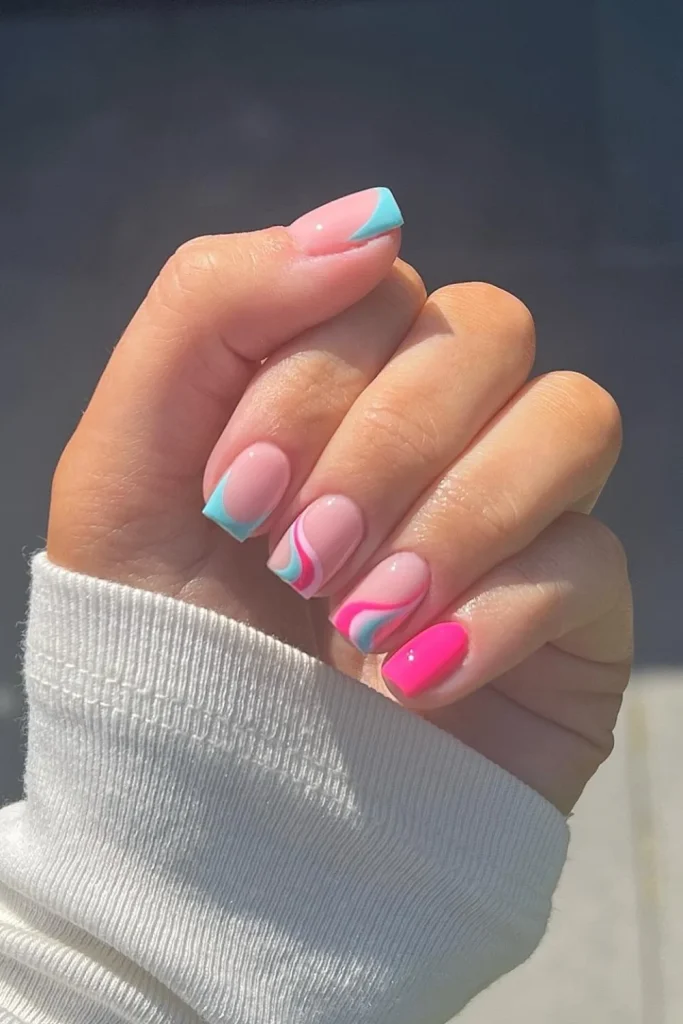
12. Blue Accent Swirls
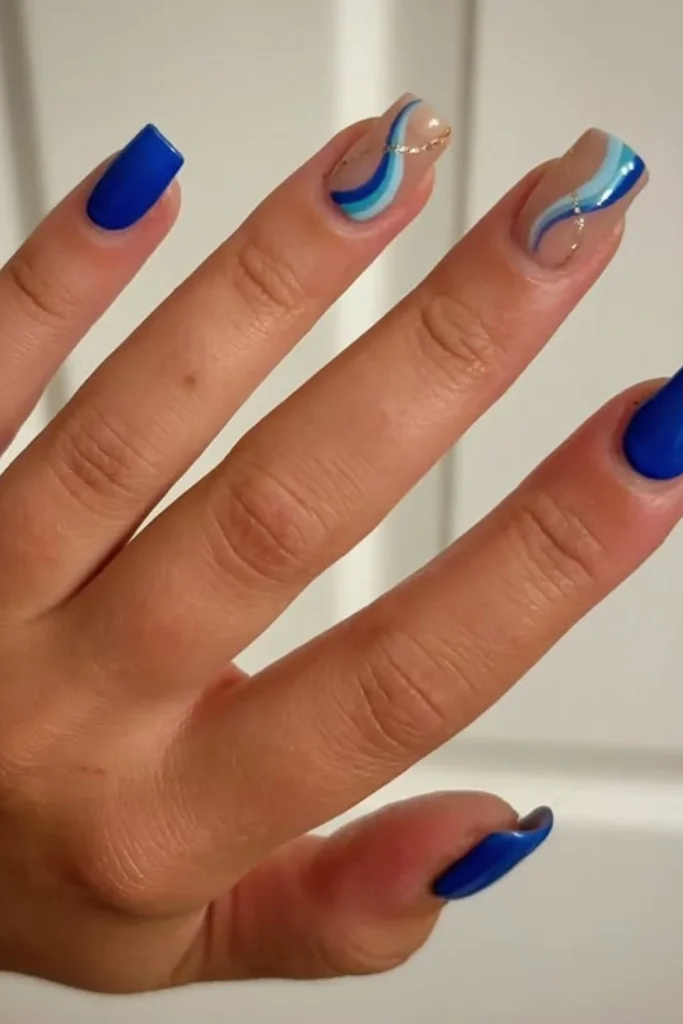
If you aren’t ready to commit to a full set of patterned nails, try featuring blue swirls on just one or two accent fingers. Painting the remaining nails in a matching solid color creates a clean, intentional look that doesn’t feel overly busy.
A soft sky blue offers a cheerful, clean daytime look, while a rich cobalt blue brings dramatic flair. Keep the accent nails glossy and smooth to ensure the details stand out beautifully.
13. Rainbow Swirls
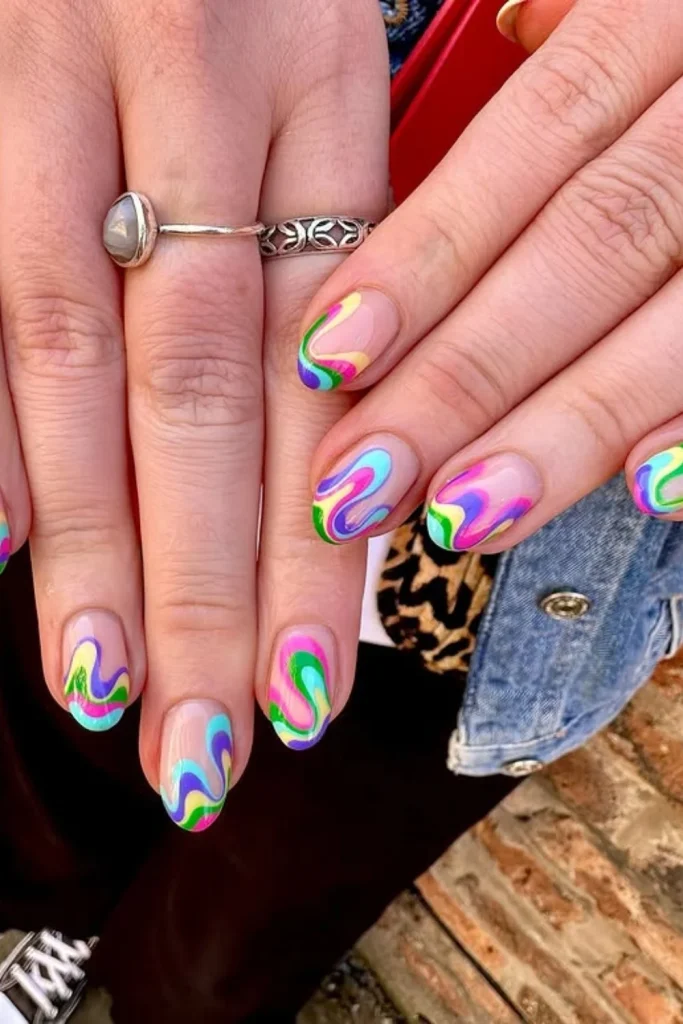
Wearing a full spectrum of colors can look surprisingly organized and stylish if you use a neutral background to anchor the design. The nude base keeps the rainbow elements feeling controlled rather than overwhelming.
To keep a multi-colored look from feeling chaotic, repeat the exact same swirl configuration on each nail while simply cycling through the different colors. This repetition anchors the artwork and makes it look highly professional.
14. Red-on-Pink Swirls
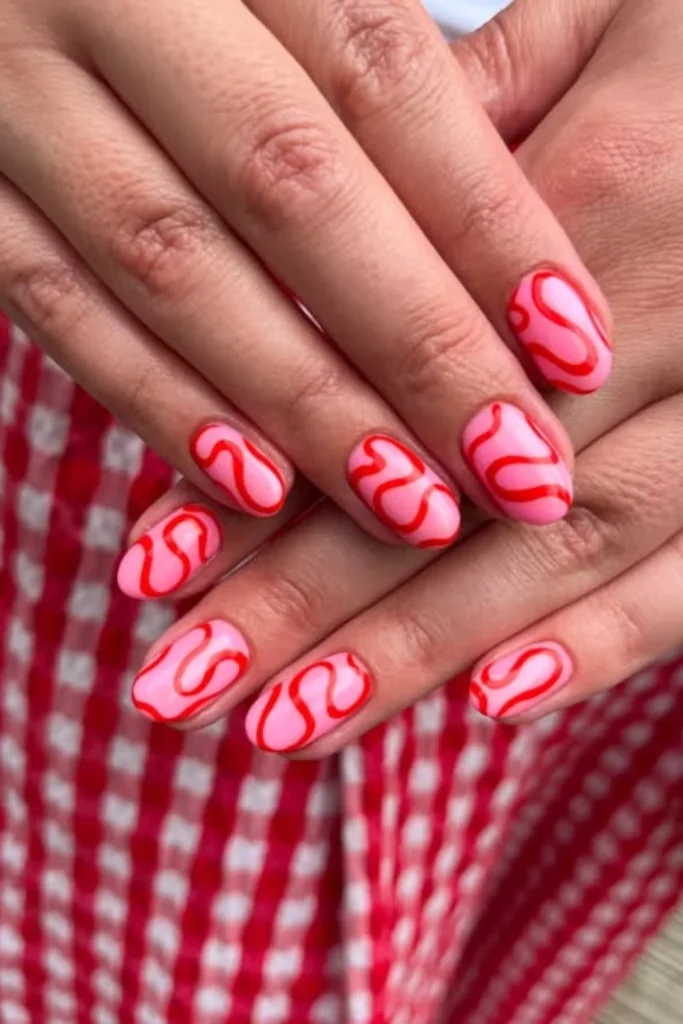
The contrasting blend of cherry red and bubblegum pink is playful, romantic, and highly eye-catching. Because these two warm shades belong to the same color family, they look harmonious together rather than clashing wildly.
Keep the curves sweeping and wide to prevent the intense pigments from overlapping too heavily. This open design style ensures that both shades retain their crisp, clean individual identity.
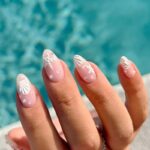
15. Marble-Style Swirls
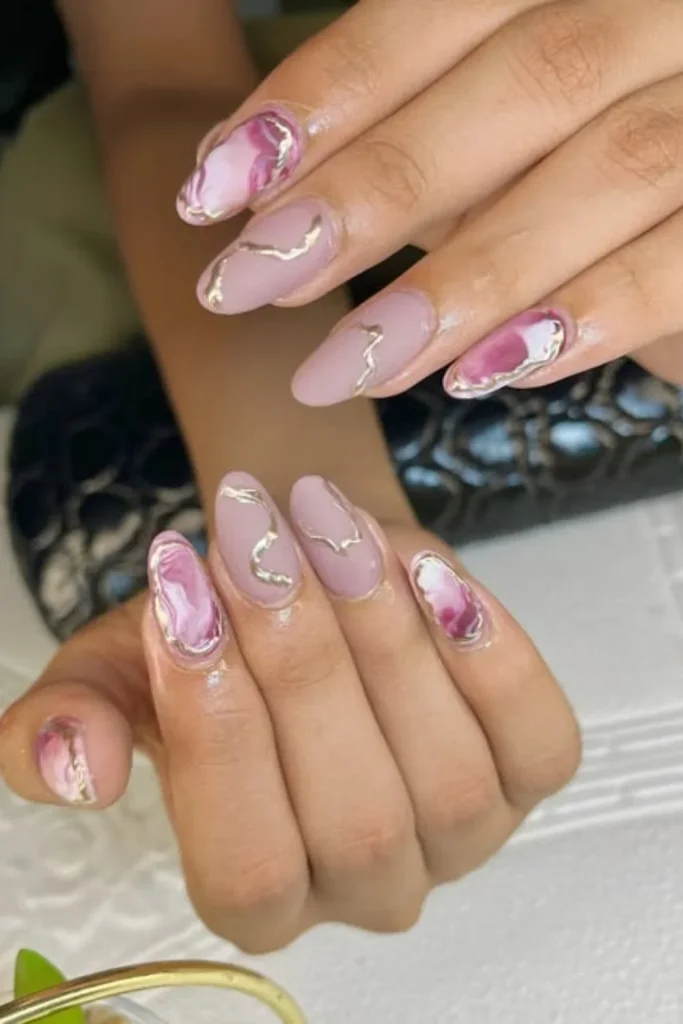
To achieve a dreamy, ethereal aesthetic without the intense effort of traditional water-marbling, try drawing loose, smoky swirls. Layering dilute white and blush streaks over a semi-translucent base creates the soft, dimensional depth of polished stone.
The key is working quickly while the polishes are still slightly wet, allowing for a gentle, smoky blend. Finish with a thick gel-like top coat to lock in the glassy, mineral-like texture.
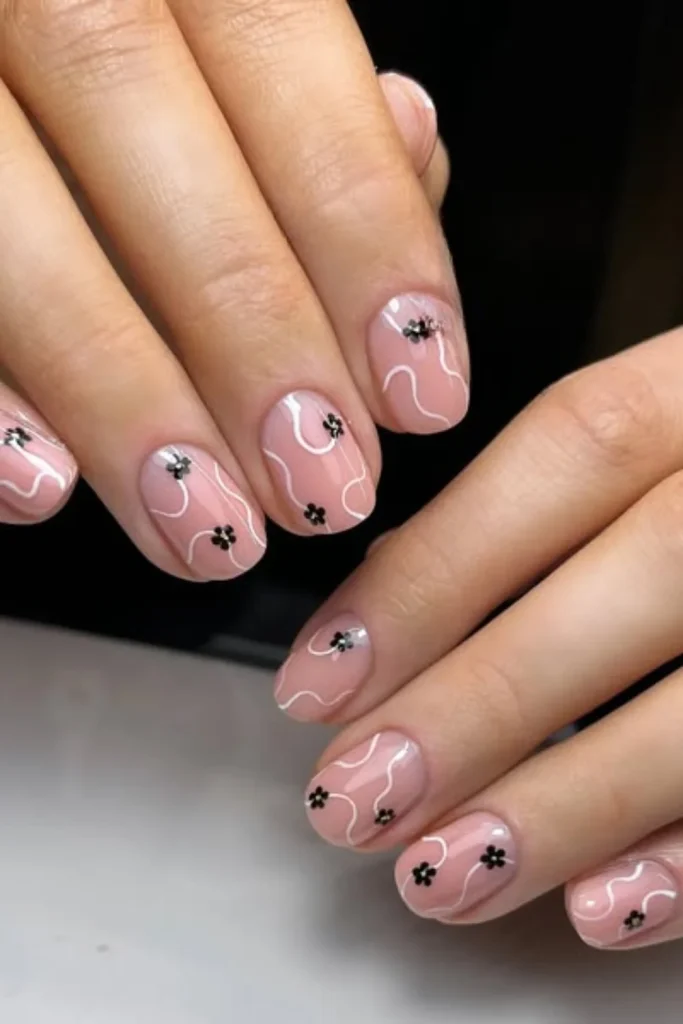
16. Barely-There Swirls
For the ultimate quiet luxury vibe, barely-there lines provide just a hint of interest to a classic nude manicure. Using a soft cream or off-white shade on a pale pink base creates a design that is only visible in certain lighting.
This incredibly subtle approach ensures your hands look clean, manicured, and effortlessly chic. It’s the perfect choice if you love nail art but need to keep your look professional for work.
17. Pearl Swirl
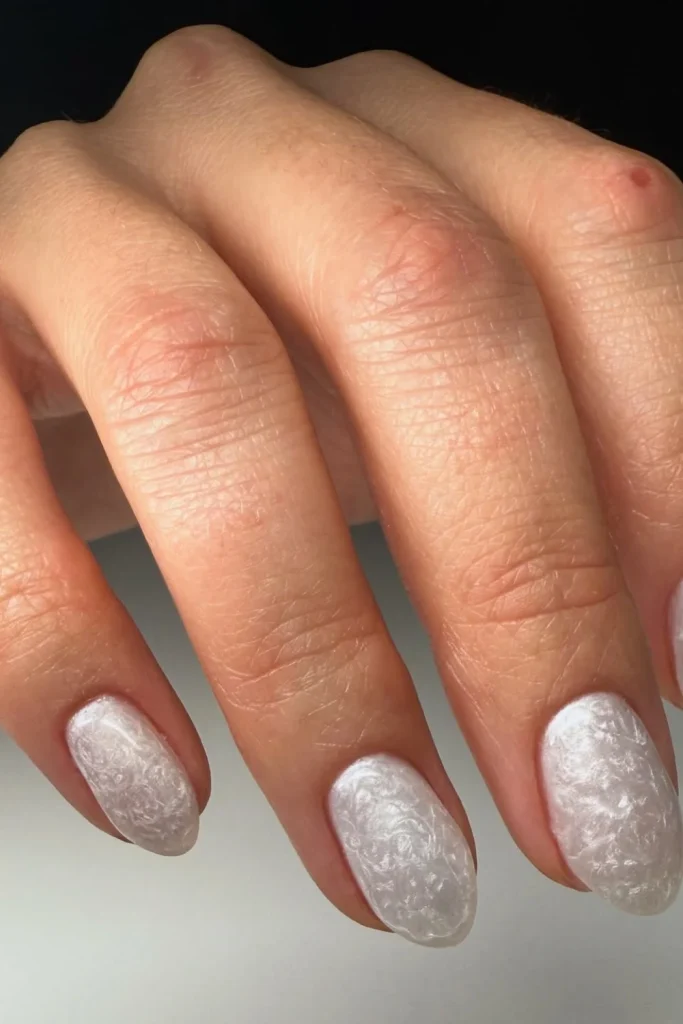
Pearlized and iridescent finishes are fantastic for catching the light and adding luxurious texture to simple patterns. By dusting a fine chrome powder or layering a pearlescent top coat over minimalist waves, you transform simple lines into glowing ribbons.
Keep the underlying colors neutral so the shimmer remains the main focus. This style looks exceptionally beautiful under natural sunlight where the shifting tones can really shine.
18. Creamy Nude Swirls
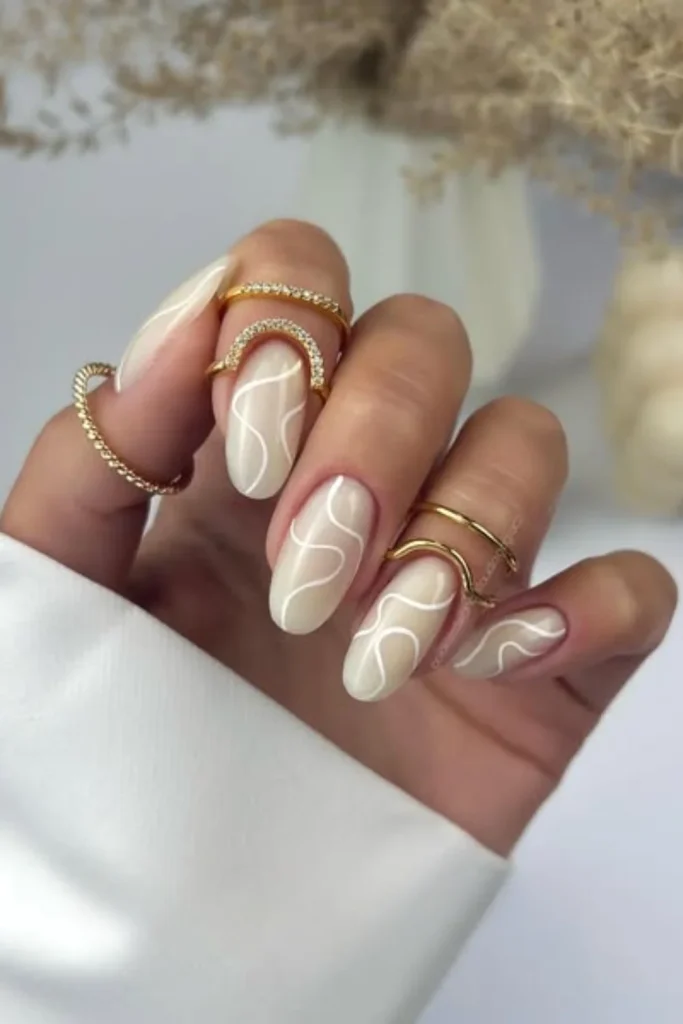
Creamy nude tones offer a seamless, polished option that coordinates beautifully with any outfit or jewelry collection. Select a background nude color that matches your skin’s natural undertones, then paint the swirls with a shade that is just slightly lighter or darker.
This low-contrast approach is highly forgiving of minor mistakes, making it an excellent choice for beginners. The subtle shift in tones creates an effortlessly clean and expensive aesthetic.
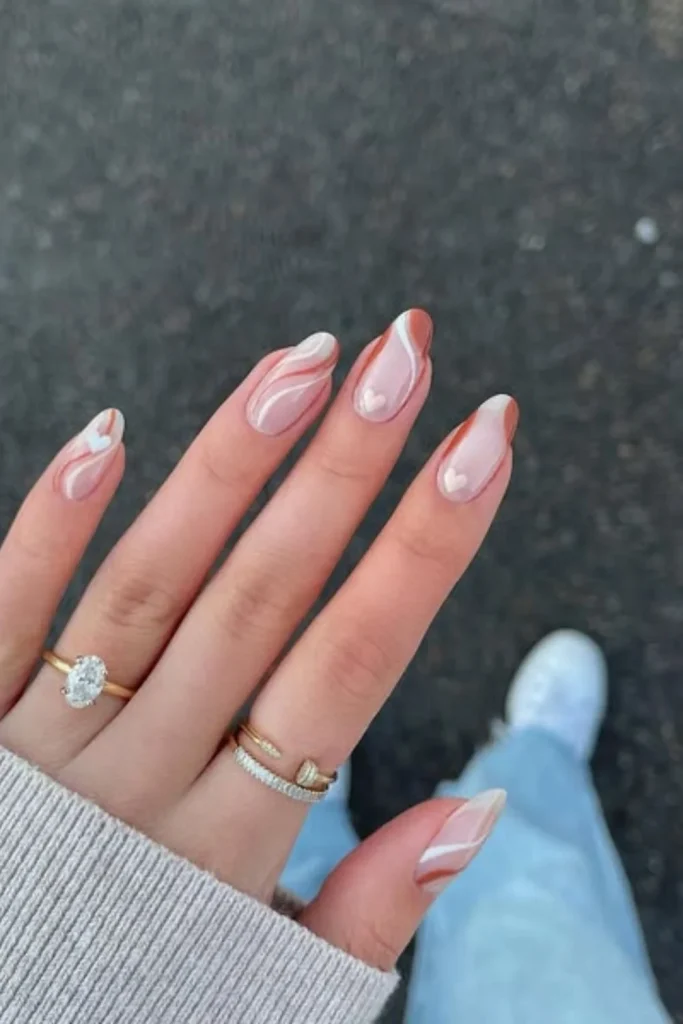
19. Soft French Swirls
Soft French curves offer a modern take on the classic French manicure by replacing straight tips with sweeping lines. This layout flatters almost any nail length, softening square tips and emphasizing round or oval shapes.
Stick to a classic crisp white for the tips over a glossy, healthy pink base. Keep the lines sweeping gently along the edge to maintain a light, airy, and sophisticated look.
20. Graphic Black-and-White Swirls
If you love a bold, artistic statement, graphic monochrome lines are an excellent choice. By keeping the background totally clean and utilizing solid black and white sweeps, you create a striking modern-art look.
Leave plenty of negative space on each nail bed so the eye can easily trace the elegant paths of the contrast lines. This style looks exceptionally striking on medium to long almond-shaped nails.
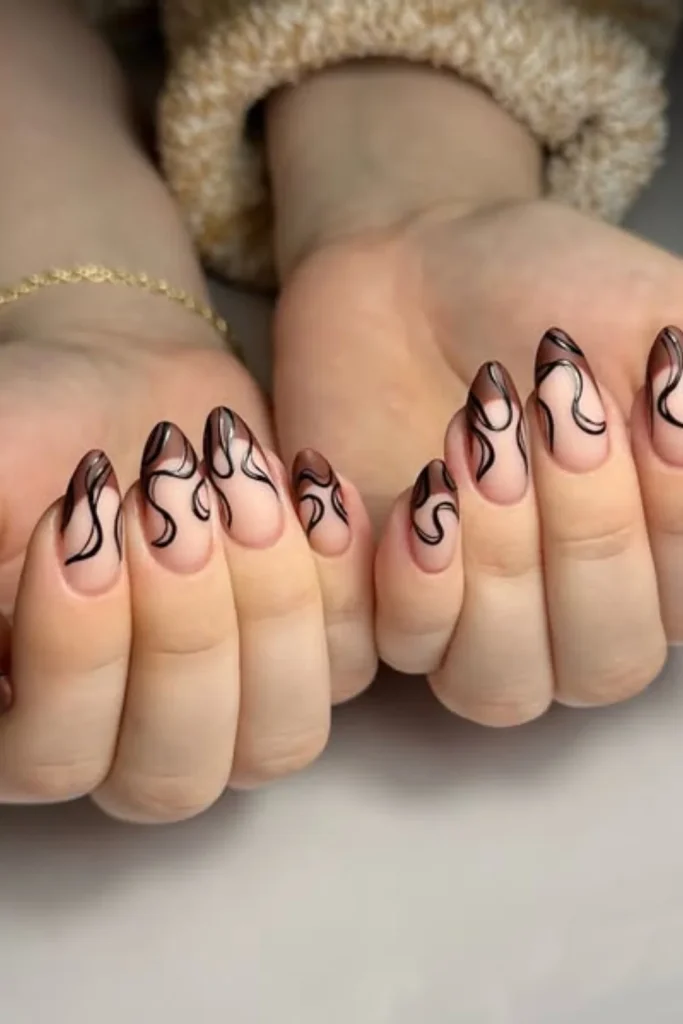
21. Brown-and-White Swirls
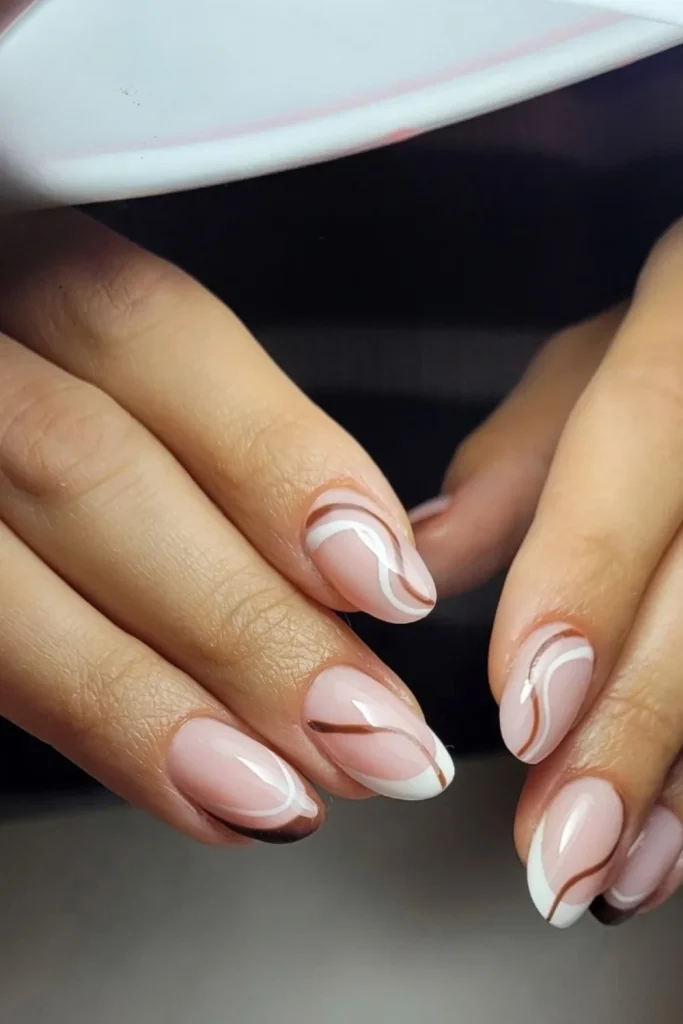
Pairing warm, earthy browns with crisp white ribbons offers a beautiful compromise between high contrast and cozy warmth. This combination is much softer on the eyes than black and white, offering an inviting espresso-and-cream aesthetic.
Keep small spaces between the lines to ensure the colors do not blur together. This warm, delicious color combination is especially perfect for cozy winter knits and autumn wardrobes.
How Can You Do Swirl Nails Ideas At Home Without Smudging Them?
Creating perfect, crisp swirls at home starts with proper preparation. Begin by applying a thin, even layer of your base coat, followed by a light layer of your chosen background color. Allowing this foundation layer to dry completely is the single most important step to prevent bleeding.
When you are ready to paint the designs, use a fine, long-bristle detailing brush and wipe off any excess polish so the brush is almost dry. Drag the brush in one slow, continuous movement without pressing down hard on the nail bed. If you are using multiple colors, let the first shade set for a few minutes before applying the next. Finally, seal your artwork with a thick top coat, floating the brush gently over the surface without touching the actual paint underneath.
What Swirl Nails Ideas Look Best On Short Nails?
Short nails look incredibly chic with delicate, thin lines that follow the natural curve of the fingertips to create the illusion of extra length. Sweeping your lines vertically or diagonally rather than horizontally is a simple trick to make the nail bed appear longer and more elegant.
Try a neutral, sheer nude base paired with white, soft rose, or caramel brown swirls. Limit the design to one or two thin waves per nail, or keep the artwork restricted to a single accent finger on each hand. This keeps your manicure looking crisp, balanced, and intentionally designed rather than cluttered. Finish with a high-shine top coat to reflect light and highlight the clean details.
Frequently Asked Questions
1. Are Swirl Nails Ideas Hard To Do At Home?
Not at all, as long as you have the right tools. The process only feels frustrating when you try to use the wide brush that comes in the polish bottle. Investing in a long, thin detailing brush and keeping your paint layers ultra-thin will instantly improve your control and overall results.
2. Do Swirl Nails Ideas Work On Short Nails?
Absolutely! Swirl art is incredibly flattering on shorter lengths when executed correctly. The trick is keeping your lines delicate and leaving plenty of open background space so the nail does not feel overcrowded or busy.
3. What Colors Are Best For Beginner Swirl Nails Ideas?
Beginners should start with a sheer, pale nude base paired with a highly pigmented cream, white, or pastel pink. These low-stakes color combinations make it much easier to practice your steady brushwork without worrying about messy mistakes.
4. How Do I Stop My Swirls From Bleeding Together?
The best way to prevent bleeding is to make sure your base layer is completely dry before painting your art, and to use as little polish as possible on your detailing brush. If you are layering multiple colors, let each line dry for a minute before adding a color next to it.
5. Can I Do Swirl Nails Ideas With Regular Polish Instead Of Gel?
Yes, regular nail lacquer works perfectly fine. Just keep in mind that traditional polish dries through evaporation, so you will need to work a bit faster and allow extra drying time before sealing the final design with your favorite top coat.
Final Verdict
Perfecting the swirl nail trend at home doesn’t have to be a stressful or messy experience. By prioritizing a completely dry foundation, working with micro-fine detailing brushes, and maintaining ample negative space, you can easily create beautiful, clean designs.
The most successful swirl layouts are those tailored to your individual nail length and unique style. Start with simple single-line patterns, take your time with each sweep, and you will quickly master the art of beautiful, crisp, and defined waves.